
Most of us have a camera roll full of photos that each have a story, and almost none of those stories get written. The hard part is not the writing. It is the blank page. This workflow takes the rough notes you already have about one photo and turns them into a blog post outline in about fifteen minutes, with every fact you still need to check clearly marked.
Key takeaway. Write your own messy notes first. Ask an AI chat tool to organize only those notes into an outline, with no new facts. Have it mark anything uncertain as [CHECK]. Then check those items yourself, and write the post in your own words.
Quick answers
| Question | Short answer |
|---|---|
| How long does it take? | About 15 minutes for the outline. Writing is extra |
| Which AI tool? | Any chat tool you already use. The prompts below work in all of them |
| What do I need? | One photo, your notes, and a notes app or document |
| Will it write the post for me? | It can, but the post is better, and more honestly yours, if you write from the outline |
| Biggest risk? | The tool inventing places, dates or facts. The [CHECK] step handles that |
Why start with one photo
A single photo gives the post a center. It sets the season, the place and the mood, and it answers the reader's first question: what am I looking at? Starting with one image also keeps the post short enough to finish. When you finish one, you will want to write the next.
Step 1: Write your own notes first (5 minutes)
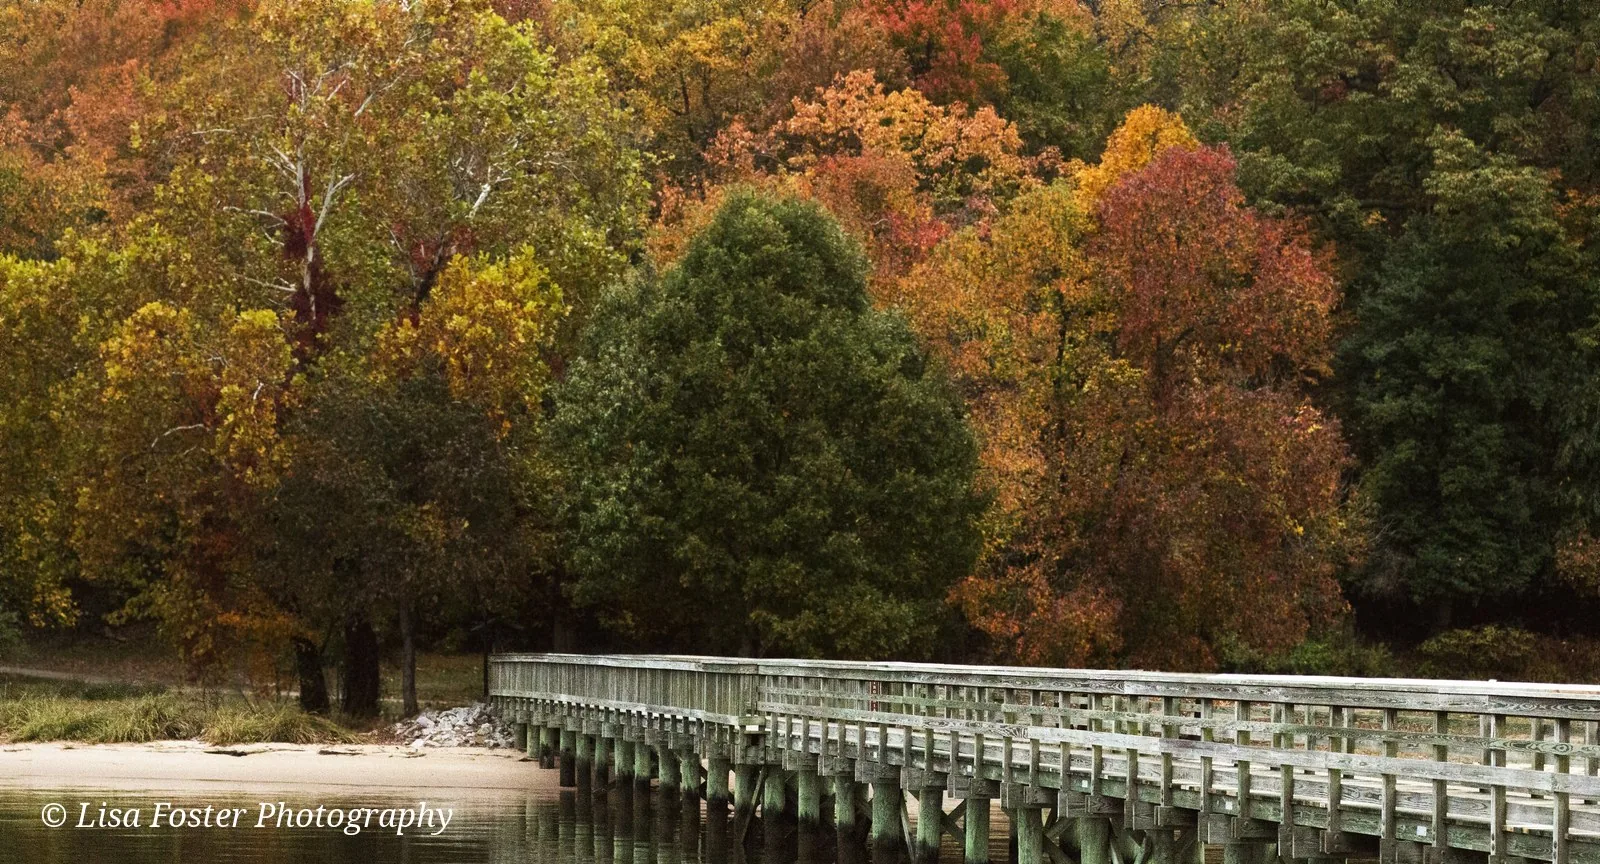
Before you open any AI tool, look at the photo and jot down whatever you remember. Do not worry about grammar. Fragments are fine. Try to cover:
- What is in the frame. The main subject, the colors, the light.
- When. Season, time of day, weather, as best you remember.
- Where. Only if you are sure. If not, write "not sure, check the map pin."
- Why you stopped. This is the heart of the post. What made you raise the camera?
- What people ask. If you have shared this photo before, what did people want to know?
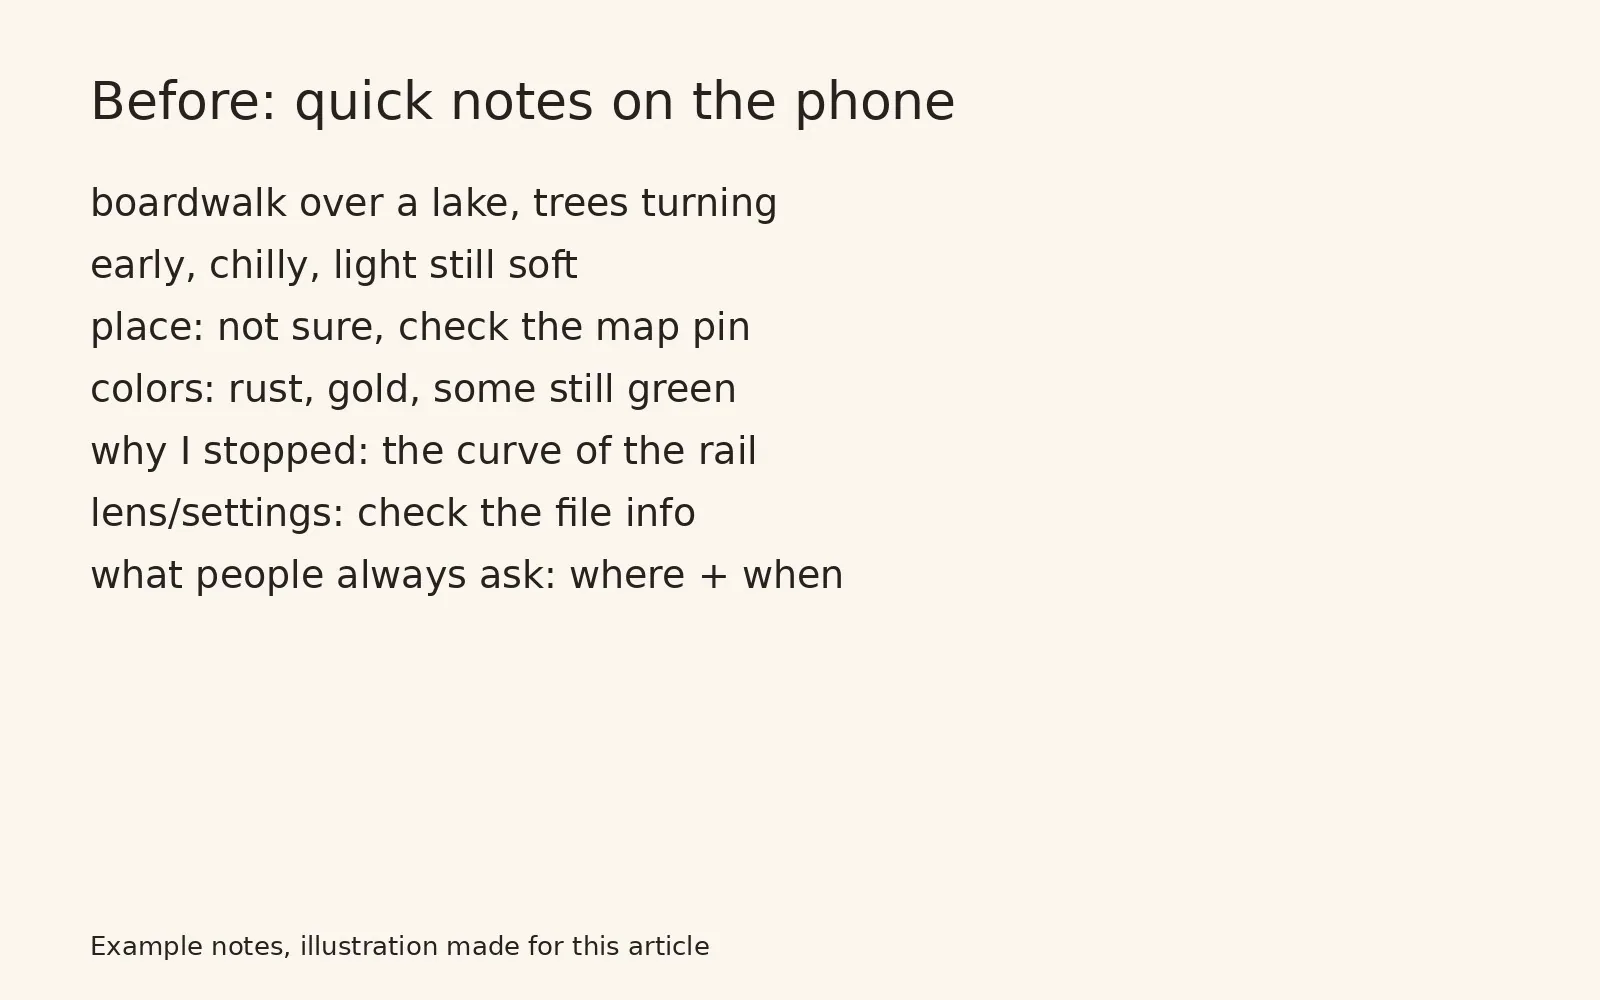
This step matters because it keeps the post yours. The tool can only rearrange what you give it, so your voice and your real memories come first.
Tip: if typing is a chore, record a 60-second voice memo while looking at the photo, then use your phone's transcription. Talking is often faster than writing, and it captures how you actually speak.
Step 2: Ask for an outline, with rules (3 minutes)
Paste your notes into any chat tool with a prompt that sets clear limits. Here is the one I use:
Here are my notes about one of my photos. Turn them into a blog post outline with a working title, 5 to 7 sections, and one closing question for readers. Use only what is in my notes. Do not add places, dates, names, species or facts. If a section needs information I did not give you, write [CHECK: what I need to find out]. Keep my wording where you can.
Why each part matters:
- "Use only what is in my notes" is the most important line. Chat tools are built to sound helpful, and they will happily guess a park name, a date, or a bird species. Saying no up front prevents most of that.
- "[CHECK: ...]" turns gaps into a to-do list instead of a hidden mistake.
- "Keep my wording" stops the outline from sounding like everyone else's.
Step 3: Read the outline like an editor (3 minutes)
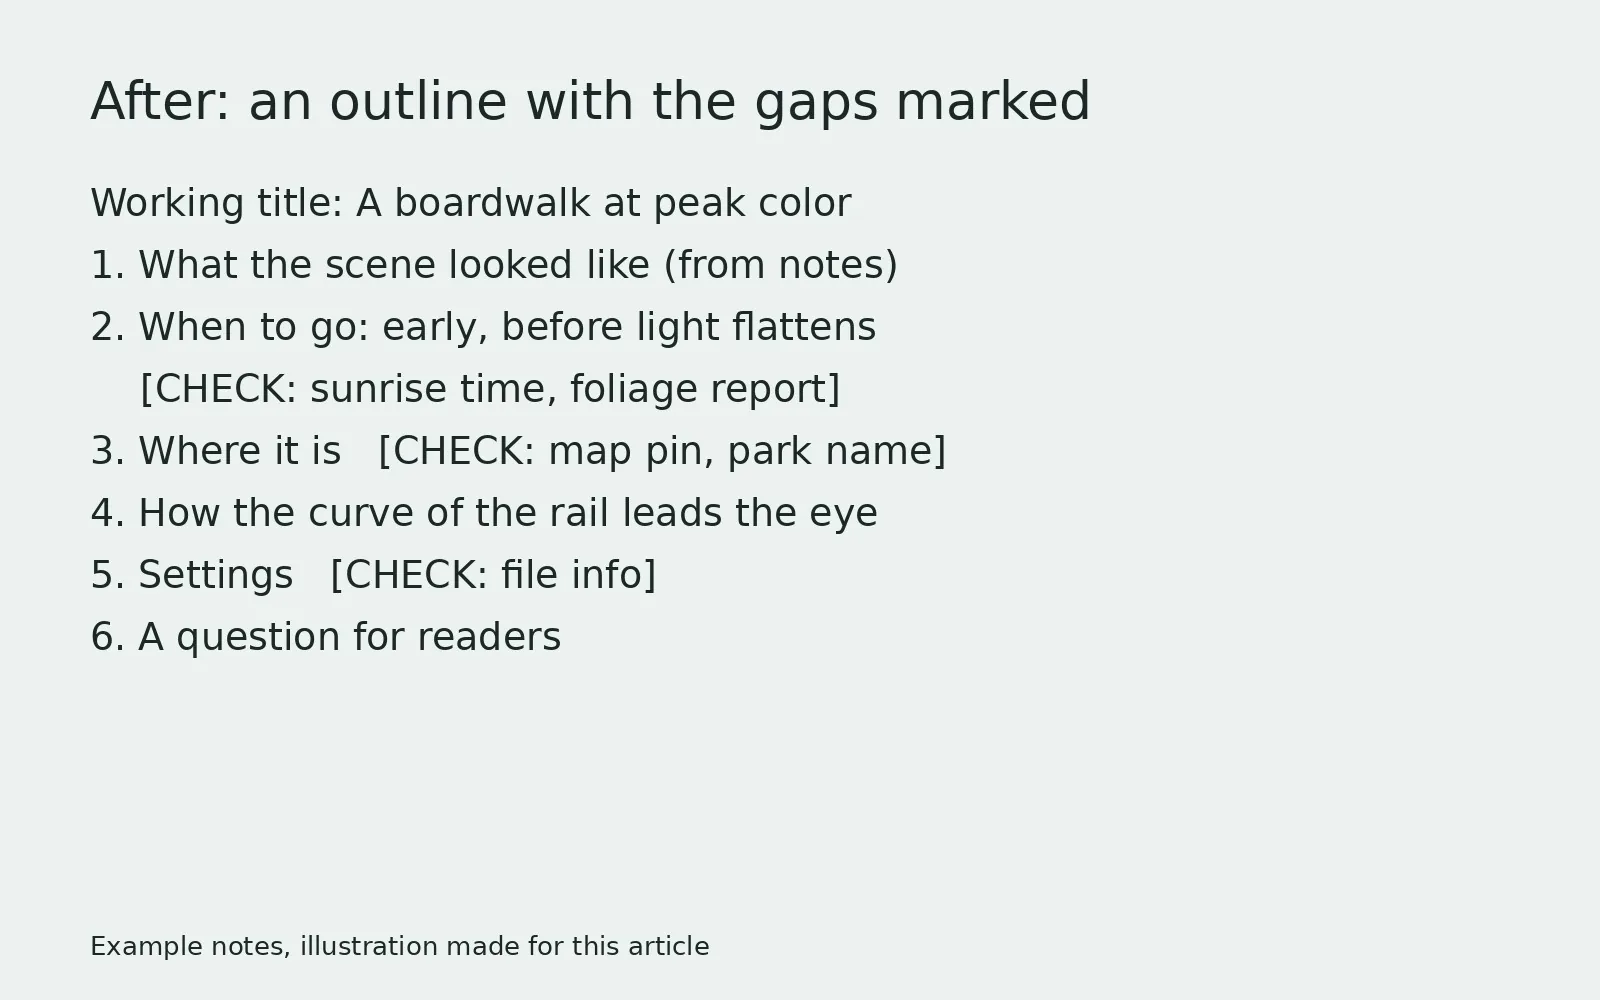
When the outline comes back, read it with three questions:
- Did it add anything I did not say? Delete any place, date, name or "fact" that was not in your notes, even if it sounds right.
- Is the order useful for a reader? Usually the reader wants: what is it, when and where, and how can I do this too? Move sections around freely.
- Is my reason for stopping still there? If the outline lost the "why," put it back near the top. That is what makes it your post.
Then, if you want, ask one follow-up:
Suggest three titles for this outline that promise a clear benefit to the reader. No clickbait.
Pick one, or write your own.
Step 4: Clear the [CHECK] list (about 5 minutes per item)

This is the step that makes the post trustworthy. For each [CHECK]:
- Place: open the photo's details on your phone. Many phones save a map location. Confirm it on an official park or town site.
- Date and time: the file info (EXIF data) shows when the photo was taken. On most phones, swipe up on the photo or tap the info button.
- Camera settings: also in the file info. Readers who ask "what settings?" will appreciate real numbers.
- Timing advice (like "go early for soft light"): look up sunrise times or a foliage report, and link to that source in the post instead of guessing.
If you cannot confirm something, leave it out or say so plainly: "I am not sure of the trail name." Readers trust honest gaps more than confident mistakes.
Step 5: Write it yourself, section by section
Now the blank page is gone. Write one section at a time in your own voice, the way you would explain the photo to a friend. A few things that help:
- Lead with the payoff. Your first three lines should tell the reader what they will get.
- Use short sections and plain headings. People skim on their phones.
- Add a "try this" line to each section. One small action the reader can take.
- Write alt text for the photo while you are there. One plain sentence describing what is in the frame.
You can ask the AI tool to check spelling or flag confusing sentences at the end. Just do not let it rewrite your voice away.

A reusable checklist
Save this in your notes app and run through it for every photo post:
- [ ] My own notes came first
- [ ] Prompt said "use only my notes" and "[CHECK]"
- [ ] Deleted anything the tool added
- [ ] Every [CHECK] item confirmed or removed
- [ ] Sources linked for any facts or advice
- [ ] Written in my own words
- [ ] Alt text written for the photo
- [ ] One closing question for readers
Common mistakes
- Starting with the AI instead of your notes. You get a generic post that could be about anyone's photo.
- Trusting a confident guess. If the tool names a waterfall, a bird, or a date you did not mention, treat it as wrong until you prove it right.
- Outlining ten photos at once. Do one. Finish it. The second one goes faster.
- Skipping the "why I stopped" section. That is the only part nobody else can write.
Try it this week
Pick one photo from this month. Set a 15-minute timer. Notes, prompt, edit, [CHECK] list. You will end up with an outline you can write in an evening, and a process you can reuse for every photo that deserves its story told.