
As an Amazon Associate I earn from qualifying purchases. Details
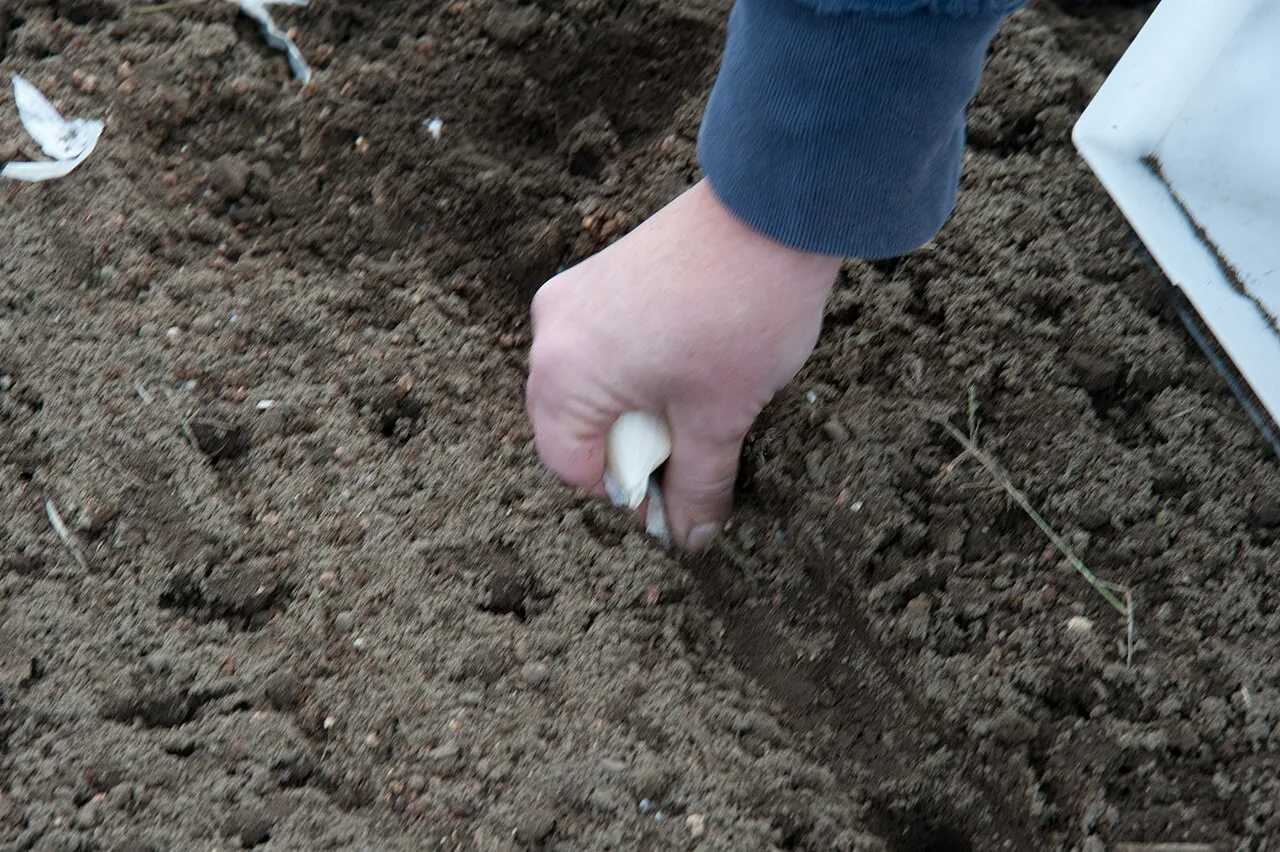
Garlic is the most forgiving thing you can plant in October. You push a clove into the ground, cover it with straw, and mostly leave it alone until early summer. In the Shenandoah Valley the only real trick is timing: get it in while the soil is still workable, and early enough that the clove can grow roots before winter.
Key takeaway. Check your hardiness zone, buy seed garlic (not grocery-store bulbs), plant single cloves pointed end up about 2 inches deep and 6 inches apart, then mulch with 3 to 4 inches of straw or shredded leaves once the soil cools. Harvest when the lower leaves turn brown, usually in June.
Quick answers
| Question | Short answer |
|---|---|
| When do I plant in the Valley? | Zone 7a/7b: October 1–30. Zone 6a/6b: the published window ends October 1, though many local growers plant later |
| How deep? | About 2 inches of soil over the tip of the clove |
| How far apart? | About 6 inches between cloves, 12 inches between rows |
| What kind? | Seed garlic from a grower. Hardnecks suit our cold winters |
| Mulch? | 3 to 4 inches of straw or shredded leaves |
| When is harvest? | Usually June, when the lower third to half of the leaves have browned |
First, find out which window you are in
The Shenandoah Valley straddles zones 6 and 7, and that changes what the calendar says. Look up your own address on the USDA Plant Hardiness Zone Map. It takes about thirty seconds.
Virginia Cooperative Extension's Vegetable Planting Guide and Recommended Planting Dates (publication 426-331) lists garlic for zones 6a and 6b from September 1 to October 1, and for zones 7a and 7b from October 1 to October 30. If you are in a 7 zone, mid-October is right on time.
If you are in a 6 zone and your garlic is still in a paper bag on the counter, you have a choice to make. The extension table is the conservative, safe answer. In practice, a lot of Virginia growers plant through late October. Ira Wallace's October notes for the Virginia Association for Biological Farming put the end of October down as the time to finish planting garlic and other alliums. A clove planted a few weeks late will usually still grow. It just has less time to build roots before the cold. If you go late, plant this week, not next month, and do not skip the mulch.
My rule of thumb: if a trowel still slides into the bed easily and the forecast is not calling for a hard freeze this week, plant.
Buy seed garlic, not grocery garlic
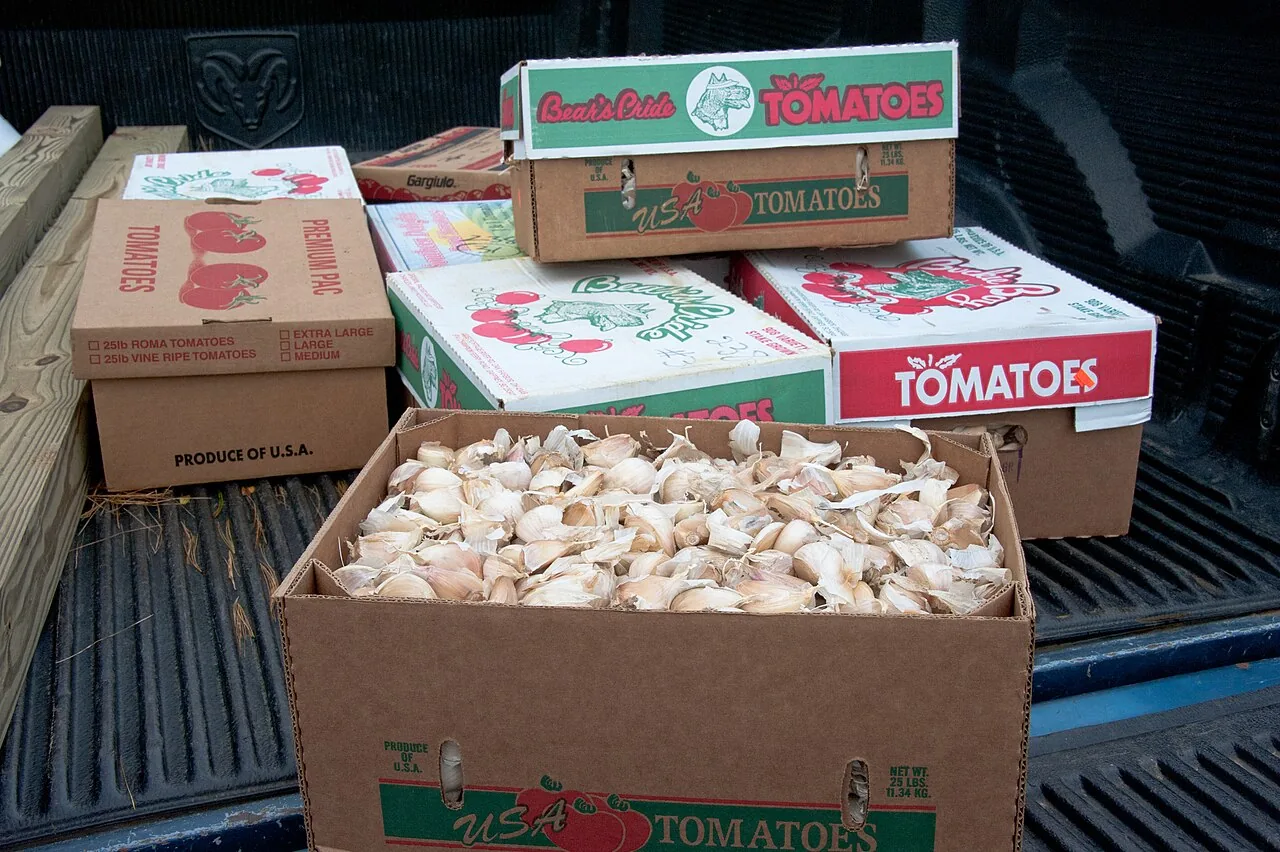
"Seed garlic" just means bulbs grown and sold for planting. Grocery garlic is often a variety bred for a warmer climate, and it may not be suited to a Valley winter. Starting with bulbs meant for planting gives you a much better chance of a good harvest.
There are two broad types:
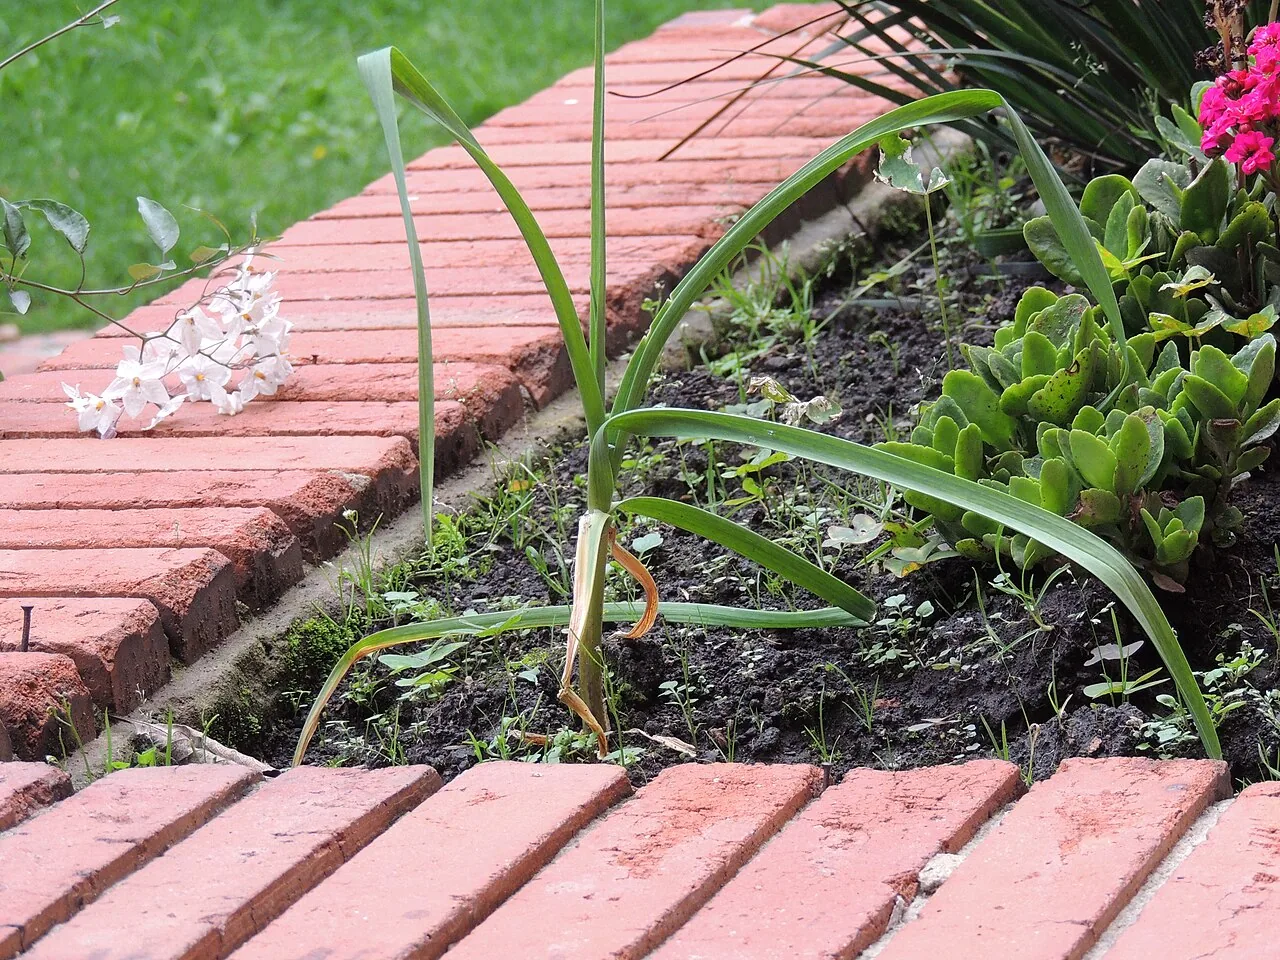
- Hardneck garlic grows a stiff central stalk and sends up a curly flower stem (a scape) in late spring. Hardnecks handle cold winters well, which suits our area. They have fewer, bigger cloves that peel easily, but they do not store as long.
- Softneck garlic has no stiff stalk, stores longer, and is the type you braid. It does better where winters are milder.
For the Valley, I would start with a hardneck, or plant one of each and see what your soil likes.
Where to buy: a local farm stand or farmers market is ideal, because the garlic grew in conditions like yours. Southern Exposure Seed Exchange, a Virginia seed company in Mineral, sells garlic for planting each fall. Popular varieties sell out by early fall, so if one is gone, any healthy hardneck from a grower is a good choice.
How much: one bulb gives you roughly 4 to 10 cloves, and each clove becomes a bulb. A pound of hardneck seed garlic usually plants a short row of about 30 to 50 cloves, depending on size.
Get the bed ready (20 minutes)
Garlic wants full sun and soil that drains. It will sit in that spot for about eight months, so pick somewhere you will not need until next summer.
- Clear the bed. Pull spent summer plants and weeds. Garlic hates competing with weeds, especially in spring.
- Loosen the soil 6 to 8 inches down with a fork or spade.
- Add compost. An inch or two worked into the top few inches is plenty.
- Skip the soggy spots. If water sits in that corner after rain, cloves can rot there over winter. A raised bed or a slightly mounded row helps on heavy clay.
If you have never tested your soil, Virginia Cooperative Extension runs an affordable soil test through your local extension office. It is worth doing once, and the results tell you whether you need lime.
How to plant garlic, step by step
- Break the bulbs apart on planting day, not days before. Keep the papery skin on each clove.
- Pick the biggest cloves to plant. Big cloves tend to make big bulbs. Use the small ones in the kitchen.
- Make holes about 6 inches apart, in rows about 12 inches apart. A dibber, a trowel, or two fingers all work.
- Set each clove pointed end up, flat root end down.
- Cover with about 2 inches of soil over the tip, and firm it gently.
- Water once if the soil is dry.
- Label the row. By March you will not remember which variety went where.
This is a good job for kids. Breaking bulbs apart and dropping one clove into each hole is easy, and the "pointy end up" rule is simple to remember.
The tool I would hand anyone for this is the Fiskars Ergo Garden Trowel. It has a cast-aluminum head and a comfortable grip, and it digs through Valley clay without bending. Any sturdy trowel works, though.
Mulch once the soil cools
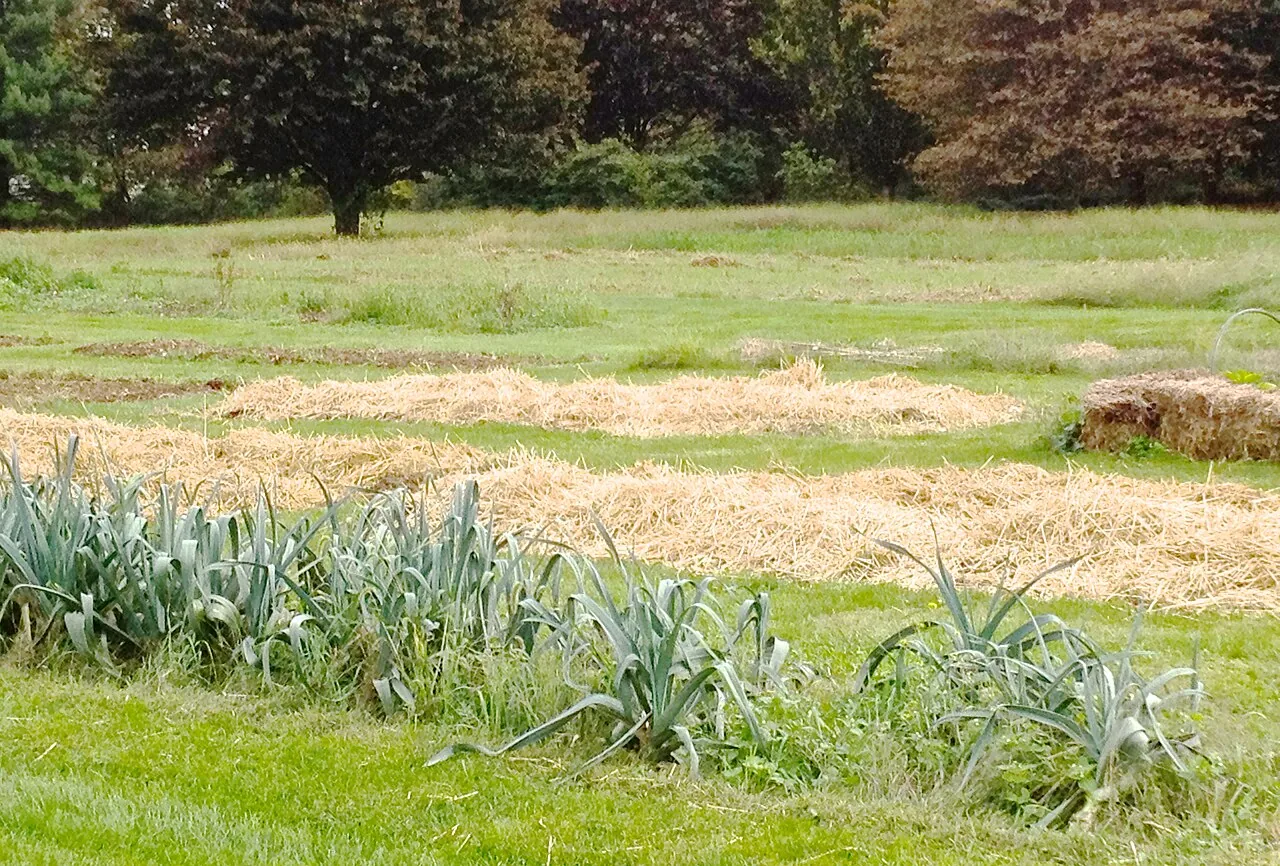
Mulch is what gets garlic through a Valley winter. It evens out soil temperature, keeps freeze-and-thaw cycles from pushing cloves up out of the ground, and smothers spring weeds.
- What to use: clean straw (not hay, which is full of seeds) or shredded leaves. Run dry leaves over with the mower, and you have free mulch.
- How much: 3 to 4 inches, loose, not packed.
- When: right after planting is fine. Shredded leaves are better than whole ones, which can mat into a wet layer.
- In spring: pull some back if the shoots are struggling to get through, and leave the rest to hold down weeds.
What happens between now and June
| When | What you will see | What to do |
|---|---|---|
| Late fall | Roots form, maybe a few green tips | Nothing. Leave the mulch on |
| Winter | Not much above ground | Check that mulch has not blown off |
| March–April | Strong green growth | Pull weeds, water during dry spells |
| May–early June (hardneck) | Curly scapes appear | Snap them off and cook them |
| June | Lower leaves turn brown | Harvest when roughly the bottom third to half are brown |
| Late June–July | Bulbs curing | Dry in shade with good airflow for 2 to 4 weeks |
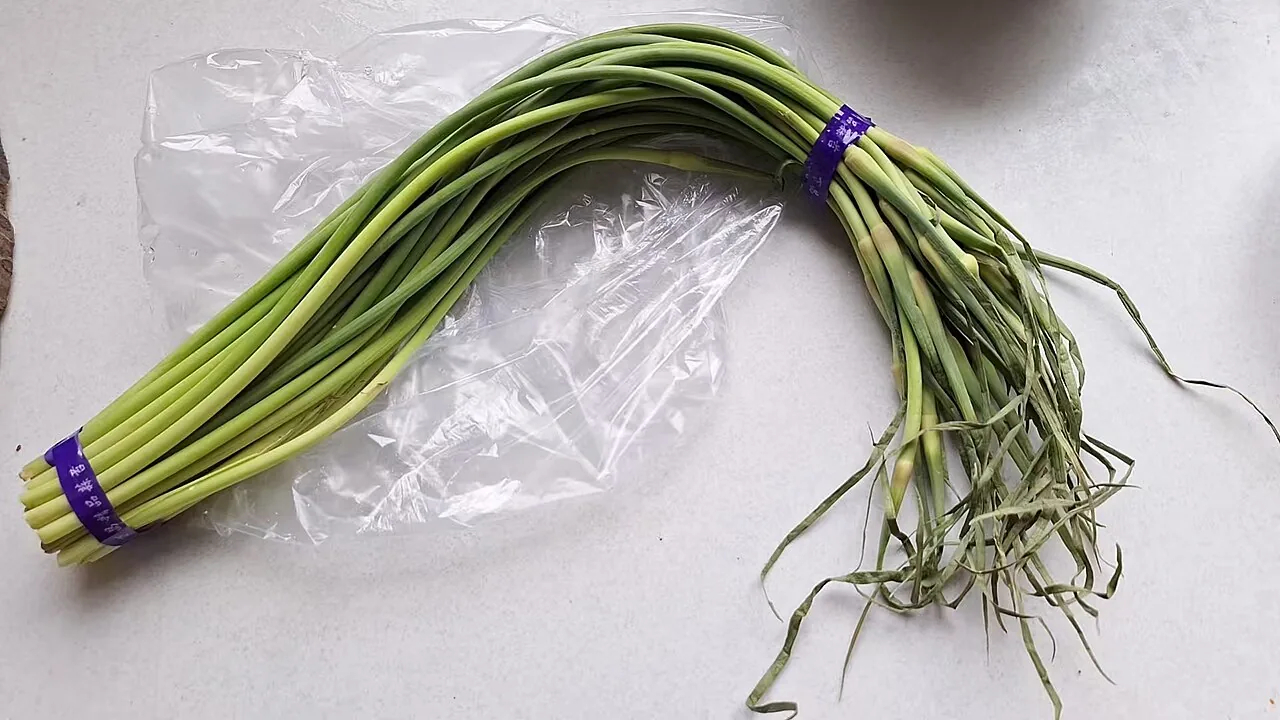
About scapes: cutting the curly flower stem off hardneck garlic sends more energy into the bulb, and the scapes are delicious. Chop them into eggs, pesto, or a stir-fry.
About water: garlic needs steady moisture in spring while the bulbs size up. Stop watering a couple of weeks before harvest so the bulbs can firm up.
Harvest and curing, so you can plan ahead
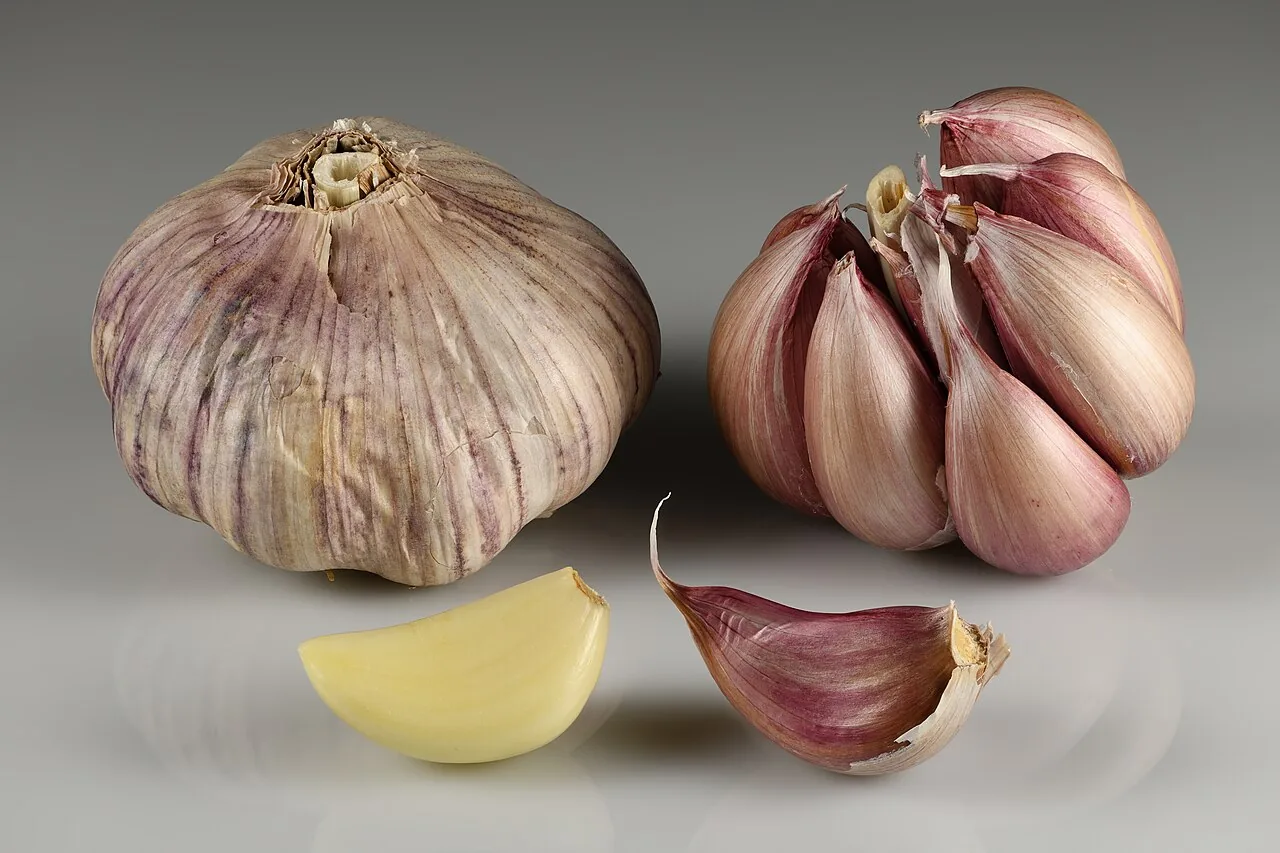
When it is time, loosen the soil with a fork beside the row and lift the bulbs. Do not yank them by the stem. Brush off the soil, but do not wash them. Hang them in bunches, or lay them on a rack, somewhere shady, dry and breezy, like a garage or a porch, for 2 to 4 weeks. Once the wrappers feel papery, trim the roots and stems.
Then the best part: set aside your biggest, healthiest bulbs. That is next October's seed garlic, and over a few years it adapts to your own garden.
The University of Minnesota Extension's guide to growing garlic in home gardens has more detail on harvest timing and storage if you want to go deeper.
Common mistakes (and easy fixes)
- Planting grocery garlic. It might grow, but it often struggles. Buy from a grower.
- Planting too shallow. Freeze and thaw can push shallow cloves up. Two inches of soil plus mulch keeps them in place.
- Planting upside down. The cloves usually still find their way up, but they waste energy. Pointy end up.
- Skipping mulch. This is the one step I would never skip in the Valley.
- Letting spring weeds win. Garlic has thin leaves and cannot shade out weeds. Ten minutes of weeding in April pays off in June.
- Harvesting too late. If you wait until all the leaves are brown, the wrappers split and the bulbs do not store as well.
Your 30-minute plan for this week
- Look up your zone (2 minutes).
- Clear and loosen one short bed, and add compost (15 minutes).
- Break up one or two bulbs and plant the biggest cloves 2 inches deep, 6 inches apart (10 minutes).
- Mulch with 3 to 4 inches of shredded leaves or straw (5 minutes).
- Write "garlic, planted Oct 14" on a label. Spring you will thank you.
In June you will have a row of bulbs, and next fall you will have your own seed garlic. Not bad for half an hour on an October afternoon.