
As an Amazon Associate I earn from qualifying purchases. Details
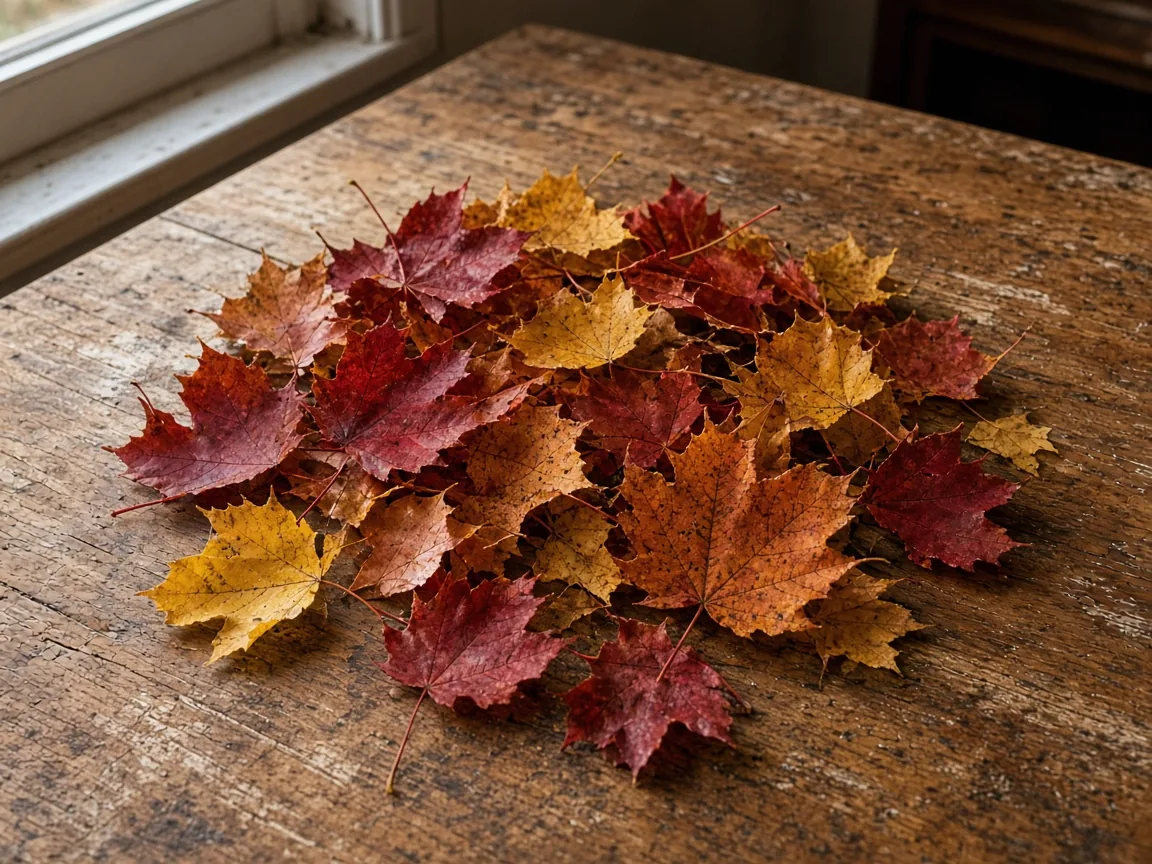
Five leaf projects, a note on who can do each one, and a one-page walk list you can print. The leaves are the supply. The rest is paper, a crayon, and a glue stick.
Key takeaway. Walk for real leaves, pick one row from the table, and skip the plastic kit. Crayons, glue sticks, and clear film are the only supplies worth buying.
I use leaves from a yard or a town sidewalk. I do not pick them inside Shenandoah National Park. If a leaf comes in threes and you are not sure what it is, leave it. A rash is not a craft problem.
Quick answers
| Project | Ages | Mess | Wait |
|---|---|---|---|
| Color sort and walk list | 3 and up, with an adult | Low | None |
| Crayon rubbings | 4 and up | Low | None |
| Window suncatcher | 5 and up; adult handles the sticky side | Low to medium | None |
| Paper crown | 4 and up | Medium | Glue needs a few minutes |
| Pressed bookmarks | 6 and up | Low | About a week under a book |
What to gather before anyone sits down
Flat leaves work better than curled ones. Maple, oak, tulip poplar, and sycamore are common in the valley and press well if you catch them before they turn to powder. Skip wet leaves. They stain paper and mold in a book.
You need a box of wax crayons, white paper, clear self-adhesive vinyl if you want the window piece, cardstock or a cereal box, a washable glue stick, wax paper or a cut-open paper bag, and the heaviest book in the house. A hole punch and a short piece of ribbon are optional for the bookmarks.
The crayon box I would actually put on the table: Crayola Crayons, 24 Colors.
The glue I would buy is Elmer's Clear Washable School Glue Sticks, 4-pack, the small 0.24-ounce sticks. Washable matters more than a giant classroom carton.
For the window, I like Con-Tact Brand Creative Clear Covering, 18 in. x 20 ft.. It is sold as privacy film and shelf liner too, but it is the clear sticky vinyl the suncatcher needs.
A hole punch, ribbon, cardstock, and wax paper are ordinary household things. Use whatever you already have.
Color sort, and the list you can print
This is the project for the youngest kids and the one that makes the other four easier. Walk first. Sort second.
Print this block, or copy it onto a half sheet. One side of the paper is the list. The other side stays blank so a child can tape a leaf next to the word later.
- One red leaf
- One yellow leaf
- One brown leaf
- One leaf bigger than your hand
- One leaf smaller than a quarter
- One leaf with points
- One leaf with a smooth edge
- One leaf that is still a little green
- One leaf with a hole (an insect got there first)
- One leaf you cannot name
Ages 3 and up can do this if an adult holds the list and the child points. The mess level is low unless you come home with muddy shoes. Do not set a quota. Five leaves is a finished walk.
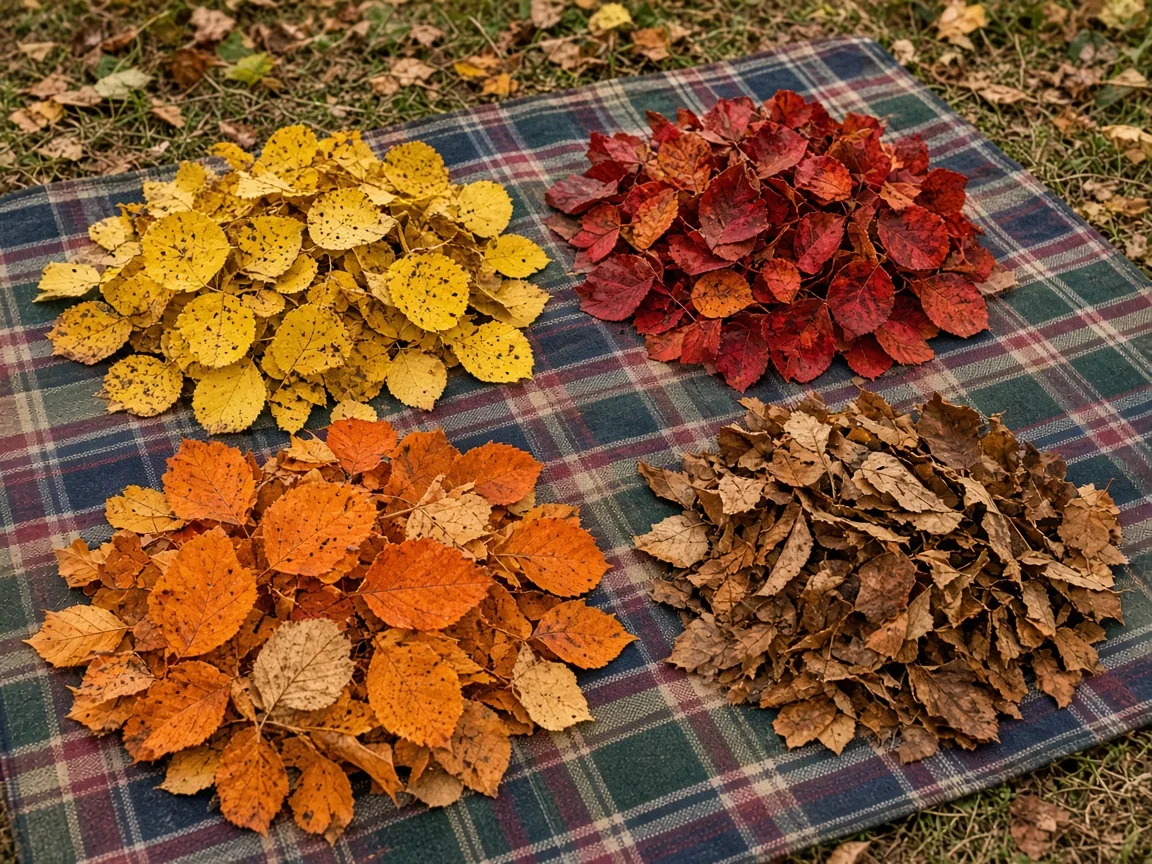
At the table, sort the pile into red, yellow, orange, and brown. A preschooler can do color. A second grader can also sort by shape. I do not turn this into a test. The point is that they looked.
More of the making and the looking lives on Foster the Imagination. When the table needs a picture that is not a craft, the shop has valley prints.
Crayon rubbings
Peel the paper off one crayon. A grown-up does the peeling. A broken crayon is fine. A marker is the wrong tool. Markers do not catch the veins.
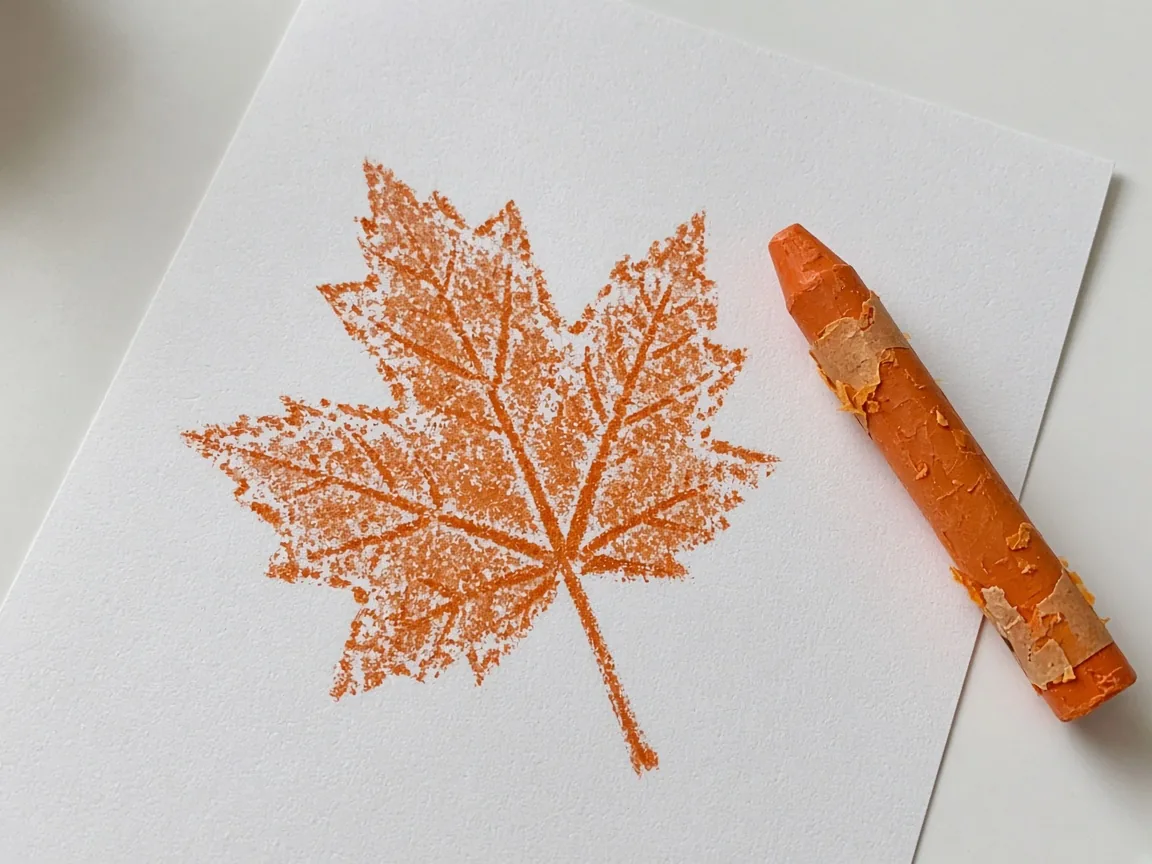
Put a leaf vein-side up on the table. Lay a sheet of paper over it. Rub the side of the crayon, not the point, until the leaf appears. Hold the paper down with your other hand so the leaf does not slide. One leaf, one rubbing. Then switch colors.
Ages 4 and up can do the rubbing. Younger kids can choose the leaf and the color while you hold the paper. Mess is low: crayon crumbs and paper. Do it on a bare table, not on a tablecloth you care about.
If the rubbing is blank, the leaf was upside down or the crayon was still wrapped. If the rubbing is a smear, you pressed the point instead of the side.
A window suncatcher
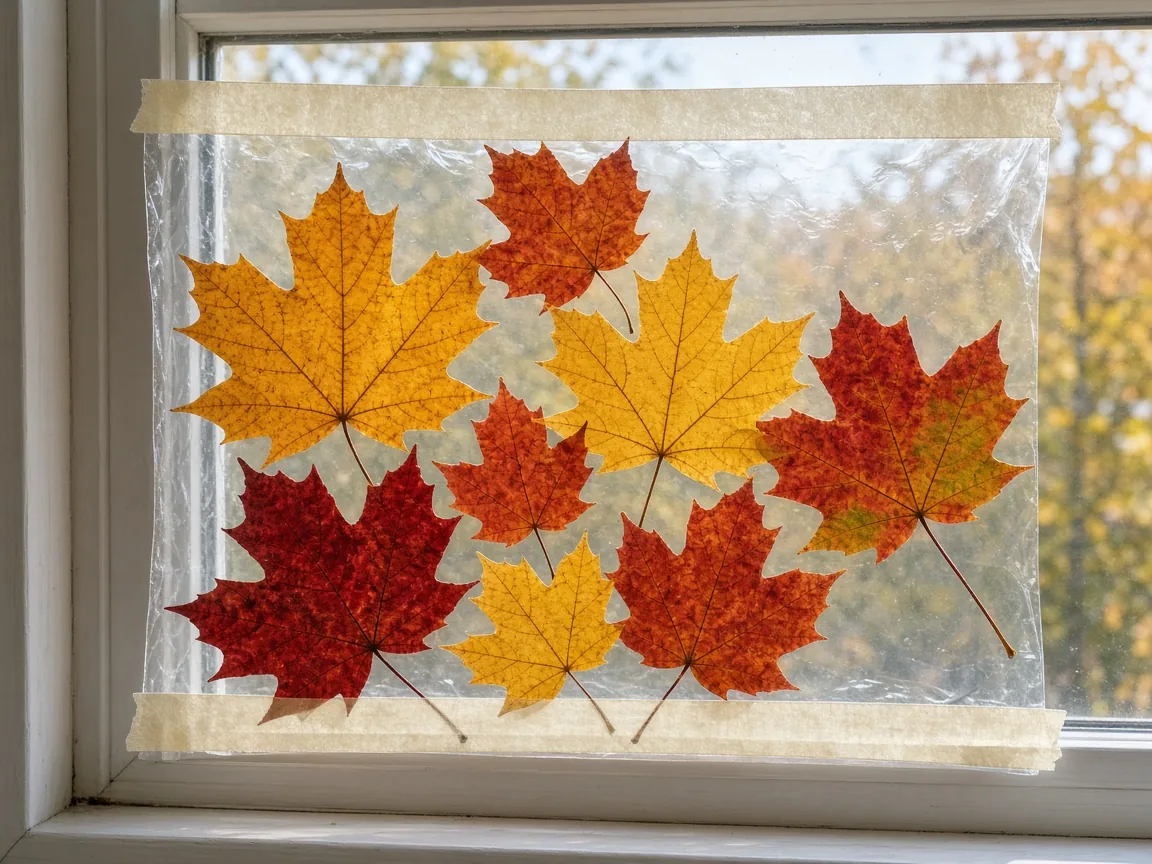
Cut two squares of the clear vinyl, about the size of a slice of bread, bigger if you want a porch window. Peel one square. That is the adult job. The sticky side faces up.
A child lays leaves on the sticky side. They should not overlap so much that the window goes dark. Leave a small bare margin so the second sheet has something to grab.
Peel the second square and lay it sticky-side down. Press from the center out. Trim the edge. Tape it to a window that gets afternoon light. The valley's low October sun does the rest.
Ages 5 and up can place the leaves. Under that, an adult does the film and the child points. Mess is the sticky scraps, which is why this is low to medium and not "none." Do not stick the film to the glass itself. Tape the finished sandwich to the glass so it comes down without a scraper.
The Con-Tact roll is 18 inches wide, so one roll is more than one afternoon. Store the rest on the cardboard tube. A half-stuck roll is the real mess.
Pressed-leaf bookmarks
This is the quiet project. It is also the one that fails if you rush it.
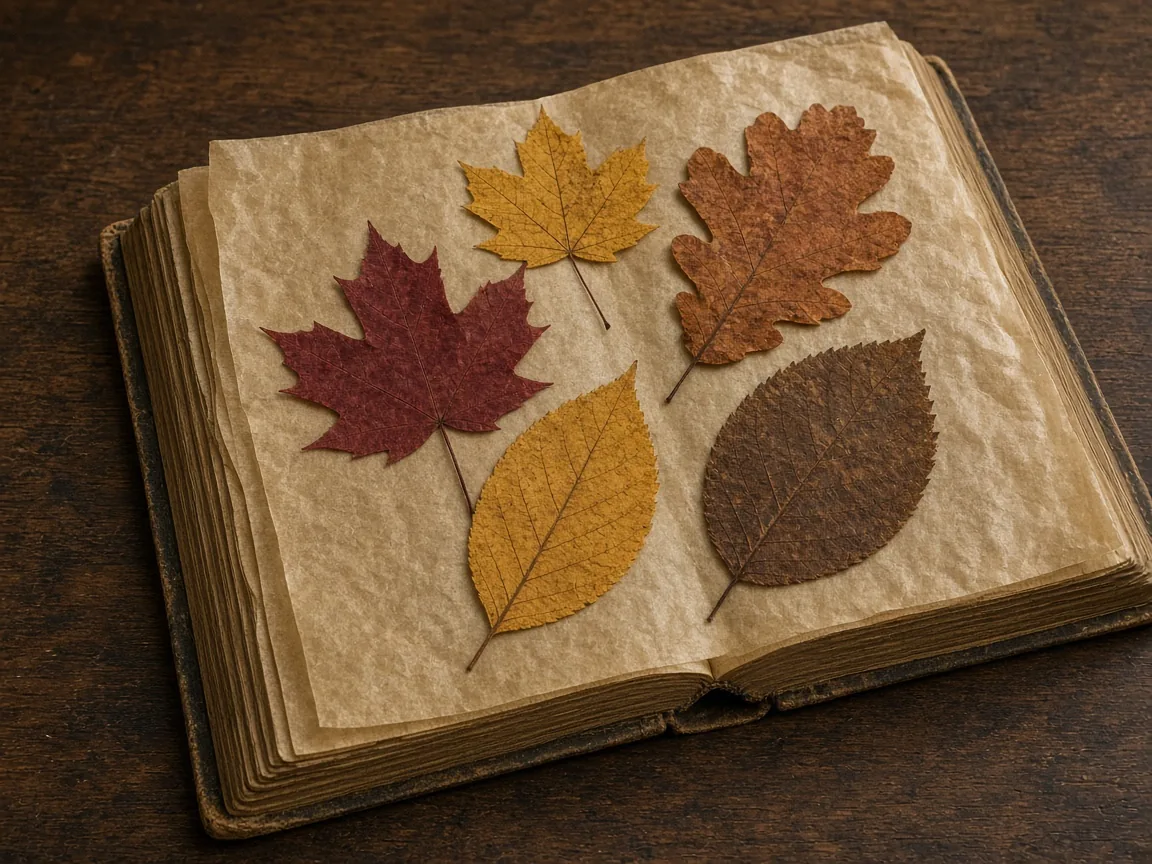
Open a heavy book to the middle. Slide in a sheet of wax paper, a leaf, and another sheet of wax paper. Close the book. Add more books on top. Leave it about a week. A weekend is not long enough for a thick oak leaf. If you need it sooner, use a thin maple and check at day three. If it is still soft, put it back.
When the leaf is dry and flat, glue it to a strip of cardstock about two inches wide and six inches long. A cereal box works if you turn the printed side down. The glue stick is enough. Liquid glue wrinkles the leaf.
Ages 6 and up can assemble the bookmark once the leaf is pressed. Younger kids can choose the leaf and close the book. Mess is low. The wait is the hard part. Write the date on a slip of paper in the book so nobody donates it to the library with a leaf inside.
A hole punch and a ribbon turn it into a gift. Skip the hole punch if you do not have one. A plain strip still marks a page.
A paper crown
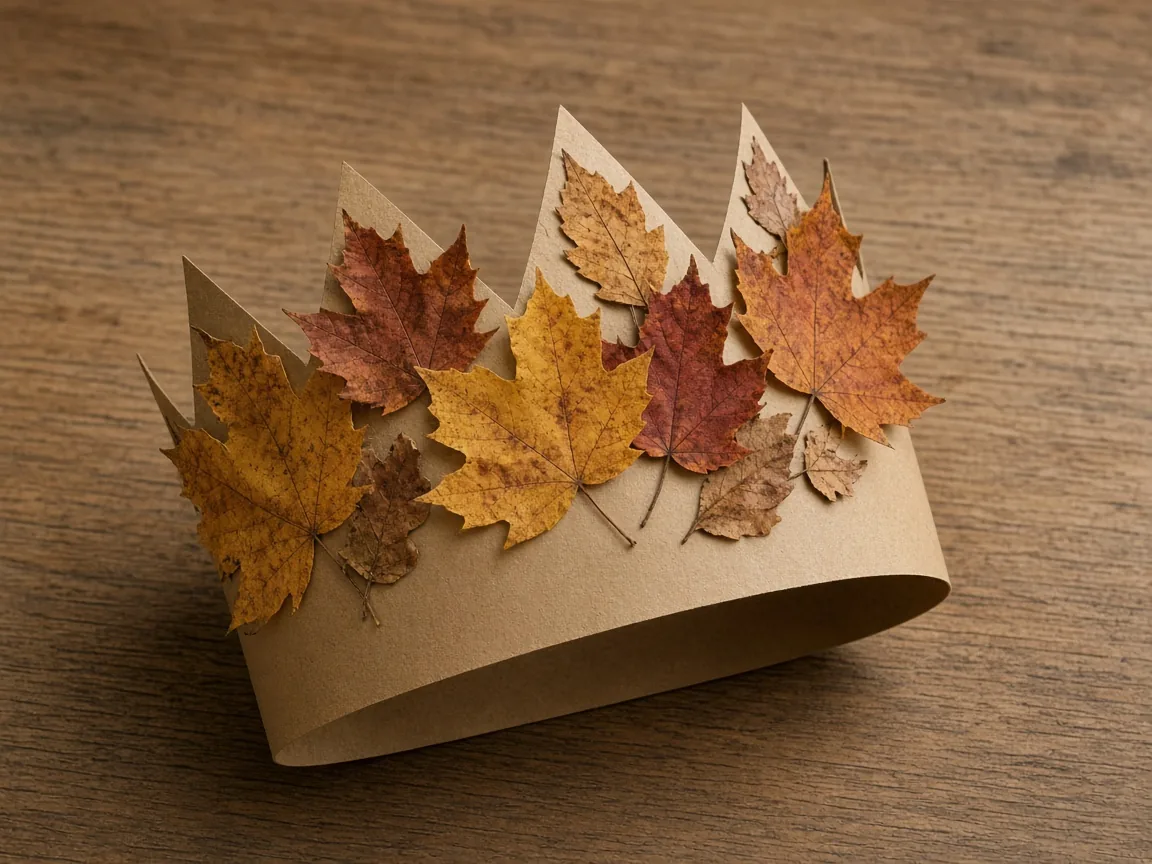
Cut a strip of paper long enough to go around the child's head plus an inch. A paper grocery bag cut open is the right weight. Cardstock is better. Printer paper collapses.
The child glues leaves along the strip, vein side out, overlapping like shingles. You fit it to their head and tape the ends. They do not need to wear it for the photo. A crown on the table is a finished project.
Ages 4 and up can glue. Mess is medium: glue on fingers, leaves on the floor. That is why I like the washable glue sticks. Keep a damp cloth on the table before you start, not after someone remembers.
Do not use glitter. It is not in the yard, and it is still in the rug at Christmas.
A simple afternoon order
If you have one hour, do them in this order so the sticky project is not first.
- Walk and sort, ten to twenty minutes.
- Rubbings, fifteen minutes.
- Suncatcher or crown, not both, unless the crew is still calm.
- Put one leaf in the book for next weekend's bookmark.
- Leaves you did not use go back outside. They are not trash, and they are not a souvenir pile on the counter.
What this is not
This is not a park-picking guide, and it is not a review of a fall craft kit. I would not buy foam stickers and plastic leaves. The point is the real leaf. I would not use a hot glue gun with kids for this. The glue stick holds a dry leaf to paper. I would not press leaves in a book you cannot risk staining. Use a book you already meant to keep.
I would not do this inside the park. Sidewalks, yards, and the town gazebo lawn are enough. The gas-budget way up Skyline Drive is a different afternoon: Skyline Drive fall color on a gas budget.
If you want this to come back next October
Keep the walk list. Next year the same half sheet works, and the kids will remember which leaf was bigger than a hand. The bookmark in the book is the reminder. That is the comeback, not a new kit.
Which of the five would your kids actually finish, the rubbing, the window, or the one that has to wait a week?